
Private Label DIY Lash Starter Kits with Defined Contents
A starter kit is a retail offer built from identified components. We can review a DIY cluster tray, a selected bond-and-seal product and your packaging brief as separate lines, then discuss the configuration you want to sell under your brand.
Our Qingdao catalogue contains useful component references, but placing products together in a photograph does not establish an approved kit or compatible system. Define the contents and intended user first, then review the selected combination and its product information.
Explore DIY cluster references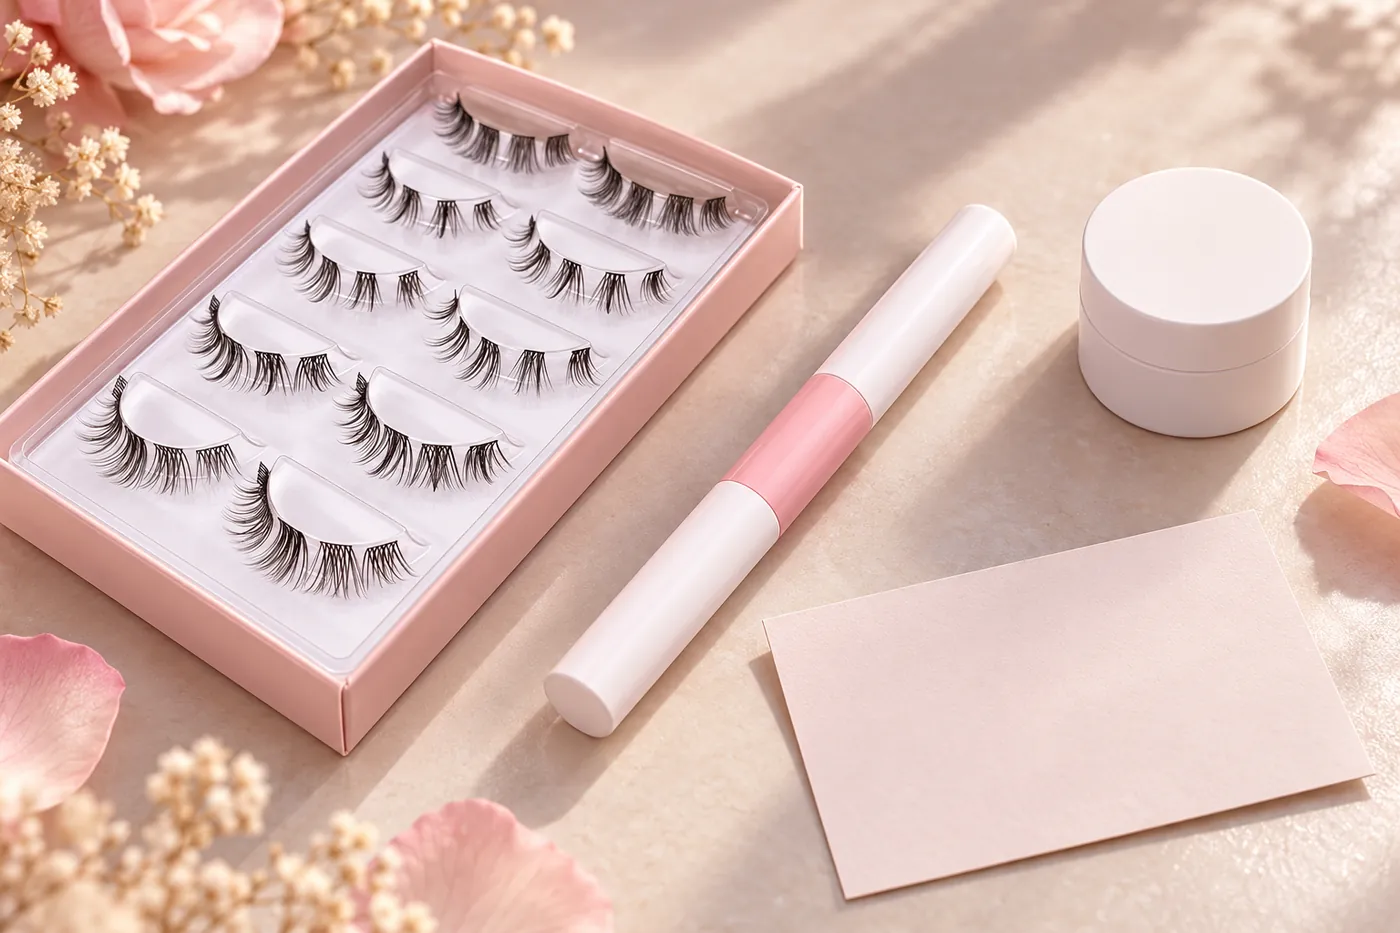
Define the First-Use Offer and the Refill Offer
A starter offer may include products a new customer does not own. A refill may contain only the lash tray. Keep those two contents lists separate so the retail description and price comparison stay clear.
Decide whether the applicator, bond and seal, removal product and instructions are included, optional or excluded. A buyer should be able to understand the box contents from a component list without interpreting a lifestyle photograph.
Select the Cluster Tray Before Sizing the Box
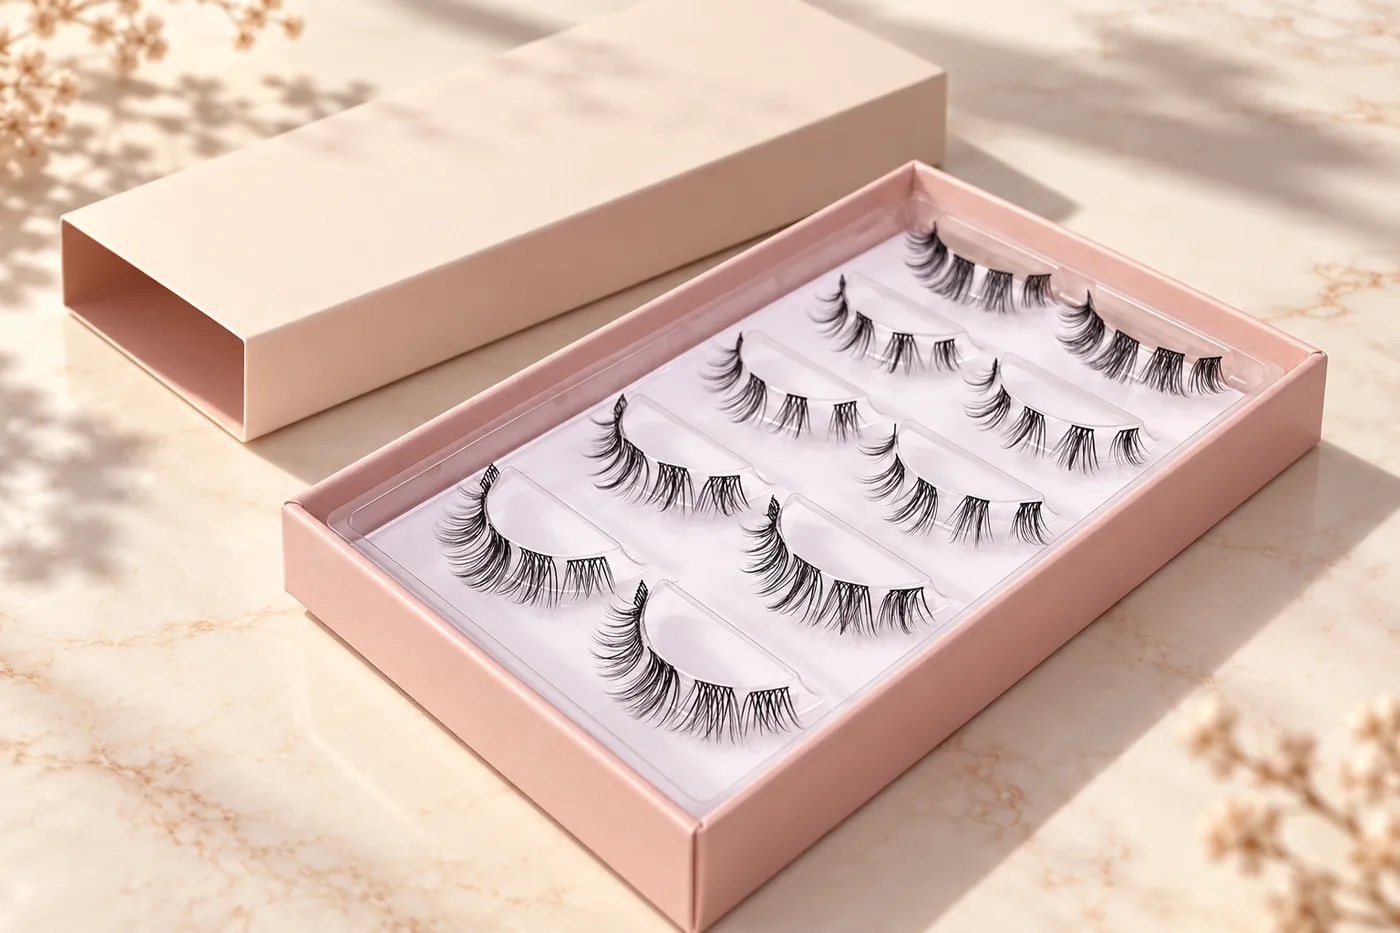
The three-row cluster reference describes 0.07 mm PBT, C or D curl, 8–20 mm individual lengths and an 8–14 mm mix. Choose the exact selection and tray layout before settling the holder, insert or carton.
For a mixed-length retail offer, record the row map and cluster count from the accepted sample. A three-row description does not establish the number of complete applications or the number of segments in every alternative tray.
Write a Component List with Quantities and Exclusions
Give every component a reference and a count per retail kit. List the packaging components as well as the products. That makes it possible to compare a quote and check whether the proposed outer box has room for the contents.
Illustrative list: one selected cluster tray, one selected dual-ended tube, one applicator only if separately specified, and one instruction insert. A removal product remains a separate reviewed choice, not an assumed inclusion.
| Component | Specify | Status |
|---|---|---|
| Lashes | Tray, selected options and segment layout | Included line |
| Bond and seal | Exact tube reference and capacity | Separate product approval |
| Applicator | Selected tool and quantity | Included or excluded |
| Removal product | Exact format and intended use | Review before inclusion |
| Retail pack | Insert, carton and instructions | Artwork and fit approval |
Review the Bond-and-Seal Product as Its Own Item
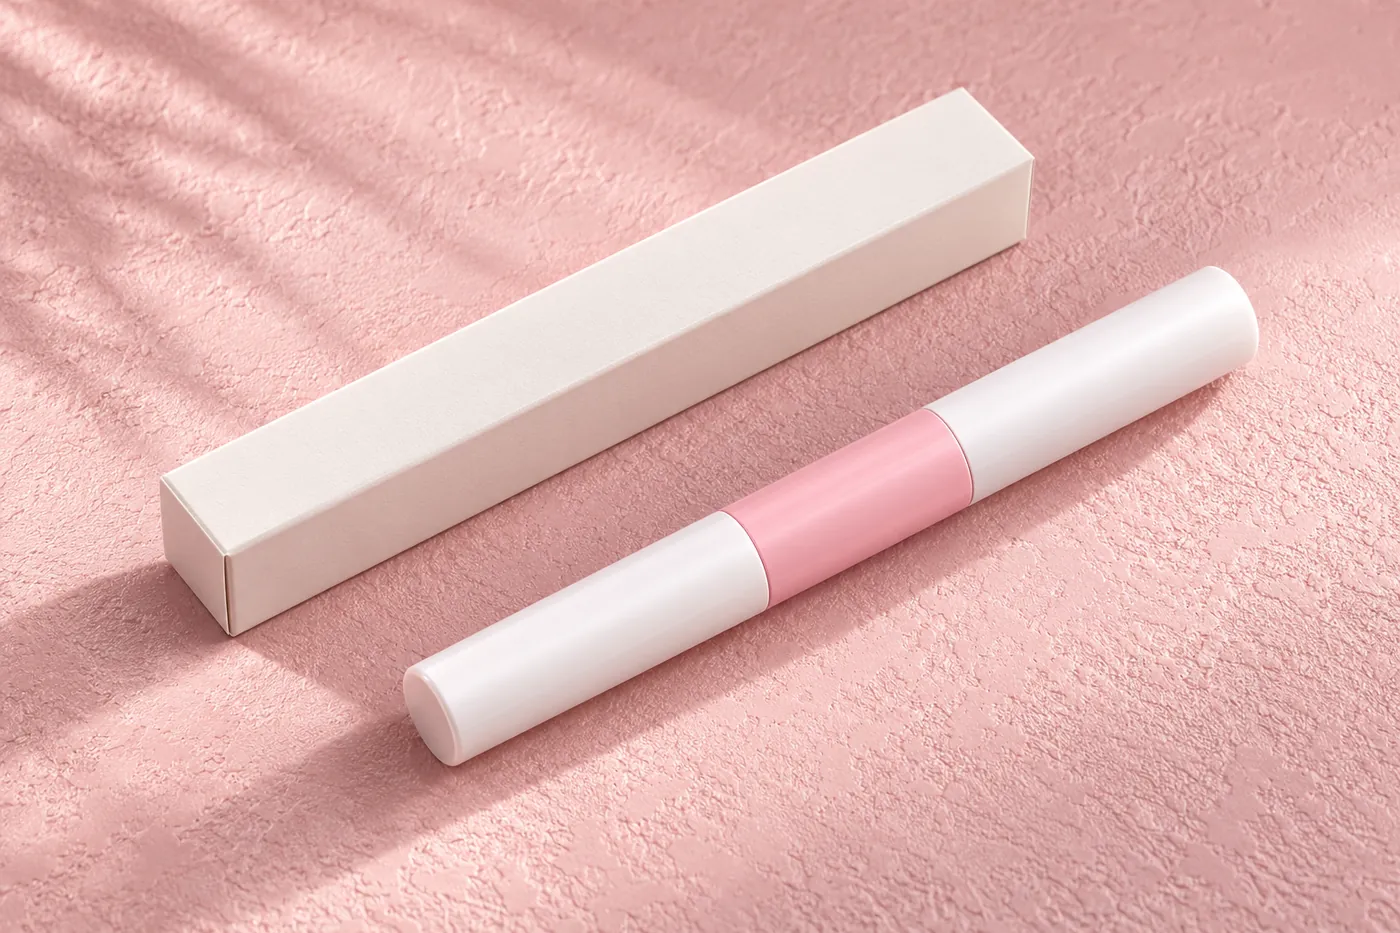
Our dual-ended DIY bond-and-seal reference has pink and black selections and accepts a branding discussion. The colour selection does not establish formula identity, tube capacity or compatibility with every cluster format.
Request the selected product's ingredient information, capacity, instructions, storage guidance and label details. Professional extension adhesive is a different product category for procurement and should not be substituted into a DIY kit because it is also called lash glue.
Review the Selected Combination Before Making Claims
Bring the lash, bonding product and proposed removal route into one sample review. Keep the component identities, instructions and observations together rather than approving each solely because it looks right in the box.
For a US-facing offer, FDA guidance identifies false lashes and their adhesives as cosmetics and highlights labeling and eye-area safety considerations. That is a reason to review product information; it is not evidence that our kit or any component is FDA approved.
Identify the Removal Product Precisely
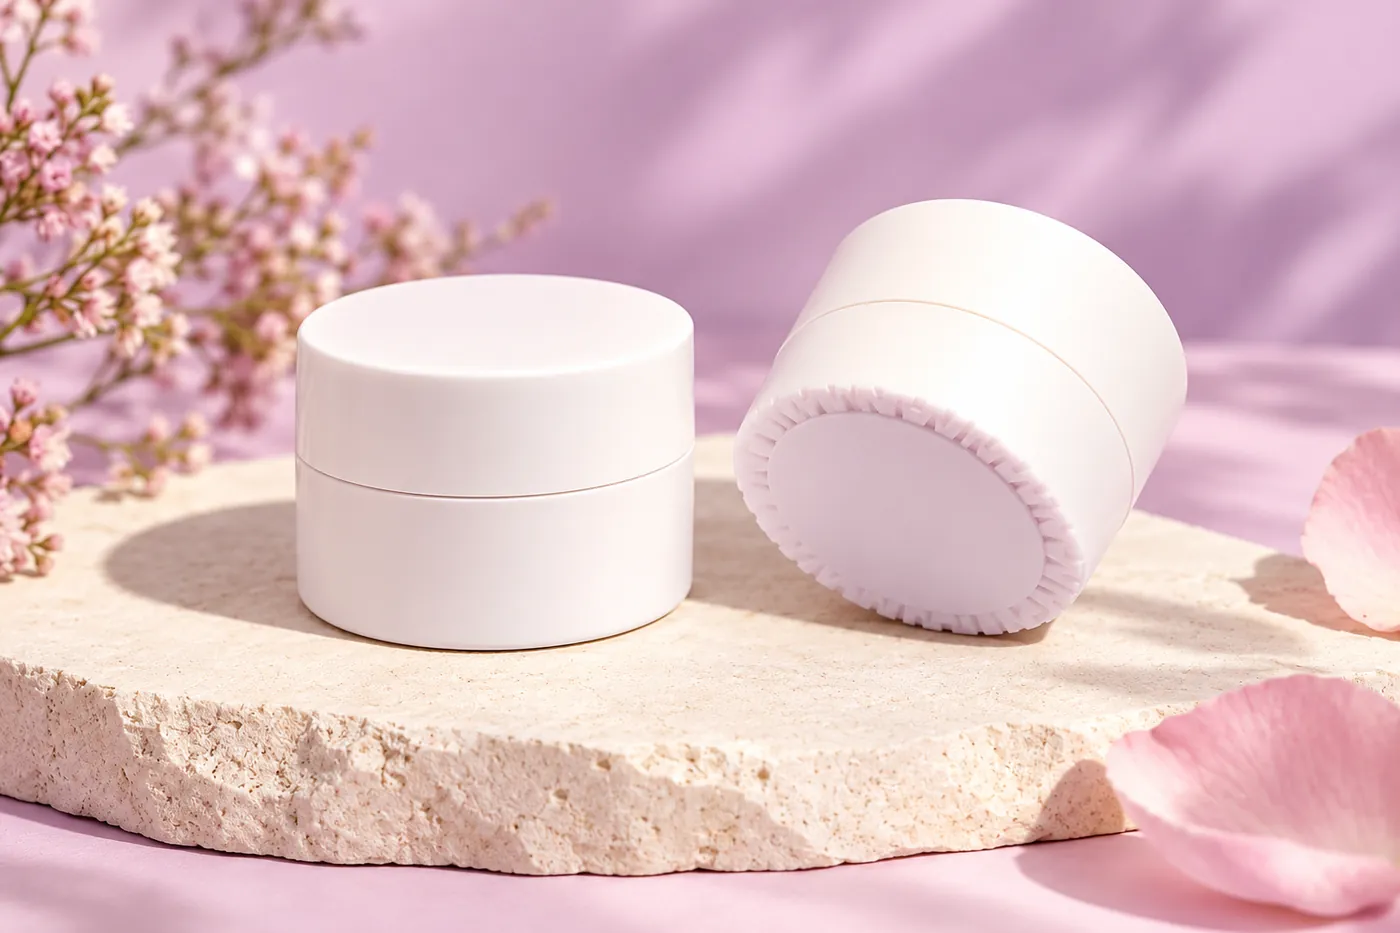
Our remover reference describes cream and gel formats and several nominal jar sizes, while its numbered selections do not clearly map every format, fragrance and capacity. Name the exact requested product rather than ordering an unspecified remover jar.
The presence of a remover in the catalogue does not establish compatibility with the selected DIY bond. Review the intended-use instructions and the specific combination before including it in a kit or writing removal claims on the carton.
Make the Retail Description Match the Physical Pack
Check that the insert holds each component without pressing on lash tips or leaking space around a tube. Photograph the open pack and the closed pack, then compare those photographs with the contents list.
The retail description should state the included items, quantities and relevant options. Keep imagery, carton text and online copy aligned so an optional tool or separately sold removal product does not appear to be included.
Calculate Component Needs Before Comparing Costs
Planning example: 100 kits containing one tray and one tube each require 100 trays and 100 tubes, plus 100 retail cartons and inserts. A different selling unit changes those component totals.
Keep sample work, printing and any spare components on separate quote lines. Quantities in this example explain the calculation; they do not establish a minimum, a preapproved bundle or a fixed production schedule.
Send the Component and Retail-Pack Brief
Send the intended customer, selected tray and options, each supporting product reference, count per kit and the items you want excluded. Include your artwork, instructions, destination and planned quantity.
Use the lash-book guide for a book-format lash-only range, the refill guide for replacement trays and the pre-glued guide for lashes with an integrated adhesive format. Those offers need different contents and claims from a bond-and-seal starter kit.
Discuss your DIY starter kit brief